SlimServer is a great piece of open source software designed for streaming music over a network. Using my Mac and an old Pentium III box running Ubuntu Linux and SoftSqueeze. I have achieved pretty much all of the functionality of a SqueezeBox. I have made this semi-quick tutorial so you can set this up as-well. We will call the computer that you want to send music from “computer” and the server we have connected to our stereo “server.” Please note, I’m using Mac OS X as the “computer” operating system and Ubuntu Linux as the “server” operating system. This guide can also be applied to many other operating systems though.
Requirements:
- Two machines, a computer, and a server running almost any modern OS
- Some basic networking experience
- Static IP’s set for these two computers
- A 3.5mm Headphone jack to RCA Jack Converter for connecting to a stereo – like this
- The “server” hooked up to the stereo system
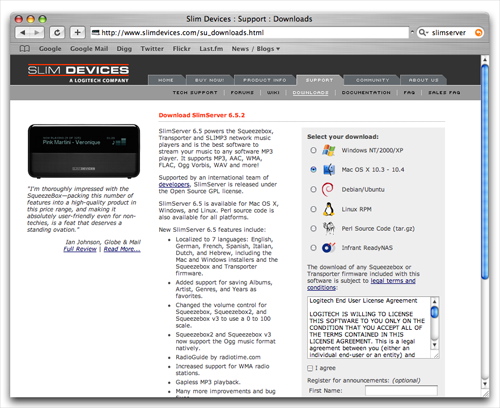
Download the SlimServer software for your computer’s appropriate operating system, you can install this on your server if you have you music library on it. Please note if you are running Ubuntu Linux on your computer you can type “sudo apt-get install slimserver” into the terminal (without the parenthesis) to automatically download and install this.
Step Two:
Download and install Java, and SoftSqueeze to your for your server that you have connected to your stereo system. Please note if you are running Ubuntu Linux on your server you can open “Synaptic Package Manager” from the System >> Administration menu. Then search for “JRE” and find and check for install the following “sun-java6-bin,” “sun-java6-jre,” and “sun-java-plugin.” Now let’s install SoftSqueeze on the server..

Download SoftSqueeze, then make two new folders Applications >> SoftSqueeze anywhere on your server where it can be accessed and place the uncompressed SoftSqueeze files in that folder (Mine is saved in “/home/administrator/Applications/SoftSqueeze”).
Now open System >> Preferences >> Sessions then create a new startup program and type SoftSqueeze as the name and “java -Dserver=192.168.1.60 -jar /home/administrator/Applications/SoftSqueeze/SoftSqueeze.jar” as the command.

Step Three:
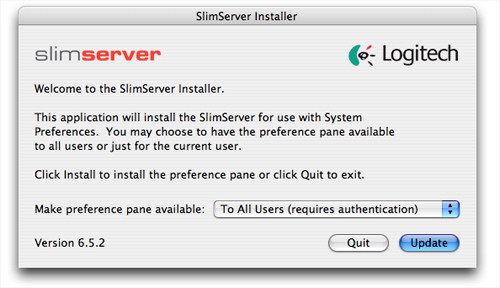
Install the SlimServer software (install this on your computer with your Music library). Please note if you did Step One via “sudo apt-get install slimserver” on your Ubuntu computer this is already installed!
Step Four:
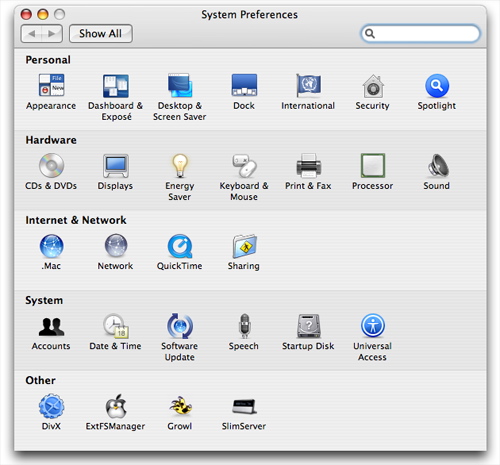
Enable (turn on) SlimServer on your computer.
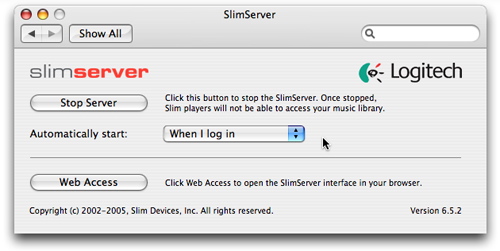
Click on “Automatically start:” and select “When I log in.”
Step Five:
Type “http://localhost:9000/” into your favorite web browser to see if you have installed SlimServer correctly on your computer.
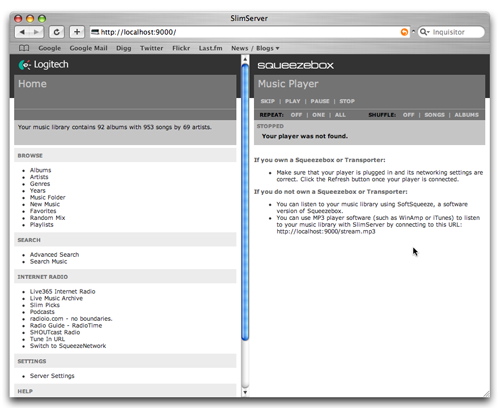
Step Six:
Its time to test your connection from your server running SoftSqueeze to your new SlimServer installation. On the server start by opening the the basic preferences of SoftSqueeze and fill in your computers static IP in the Slimserver Hostname section and click OK.

If all goes well you can try to play a song from the web interface now. It should pass the music through your network to your server then play through your speakers!
Step Seven:
Enjoy your new web interface for your music! Thank you Slim Devices, Inc for creating a wonderful piece of open source software!
Update:
This is a update of a previous tutorial of mine that suffered from horrible lag when using VLC and SlimServer. Hope you enjoy the new, better tutorial!


